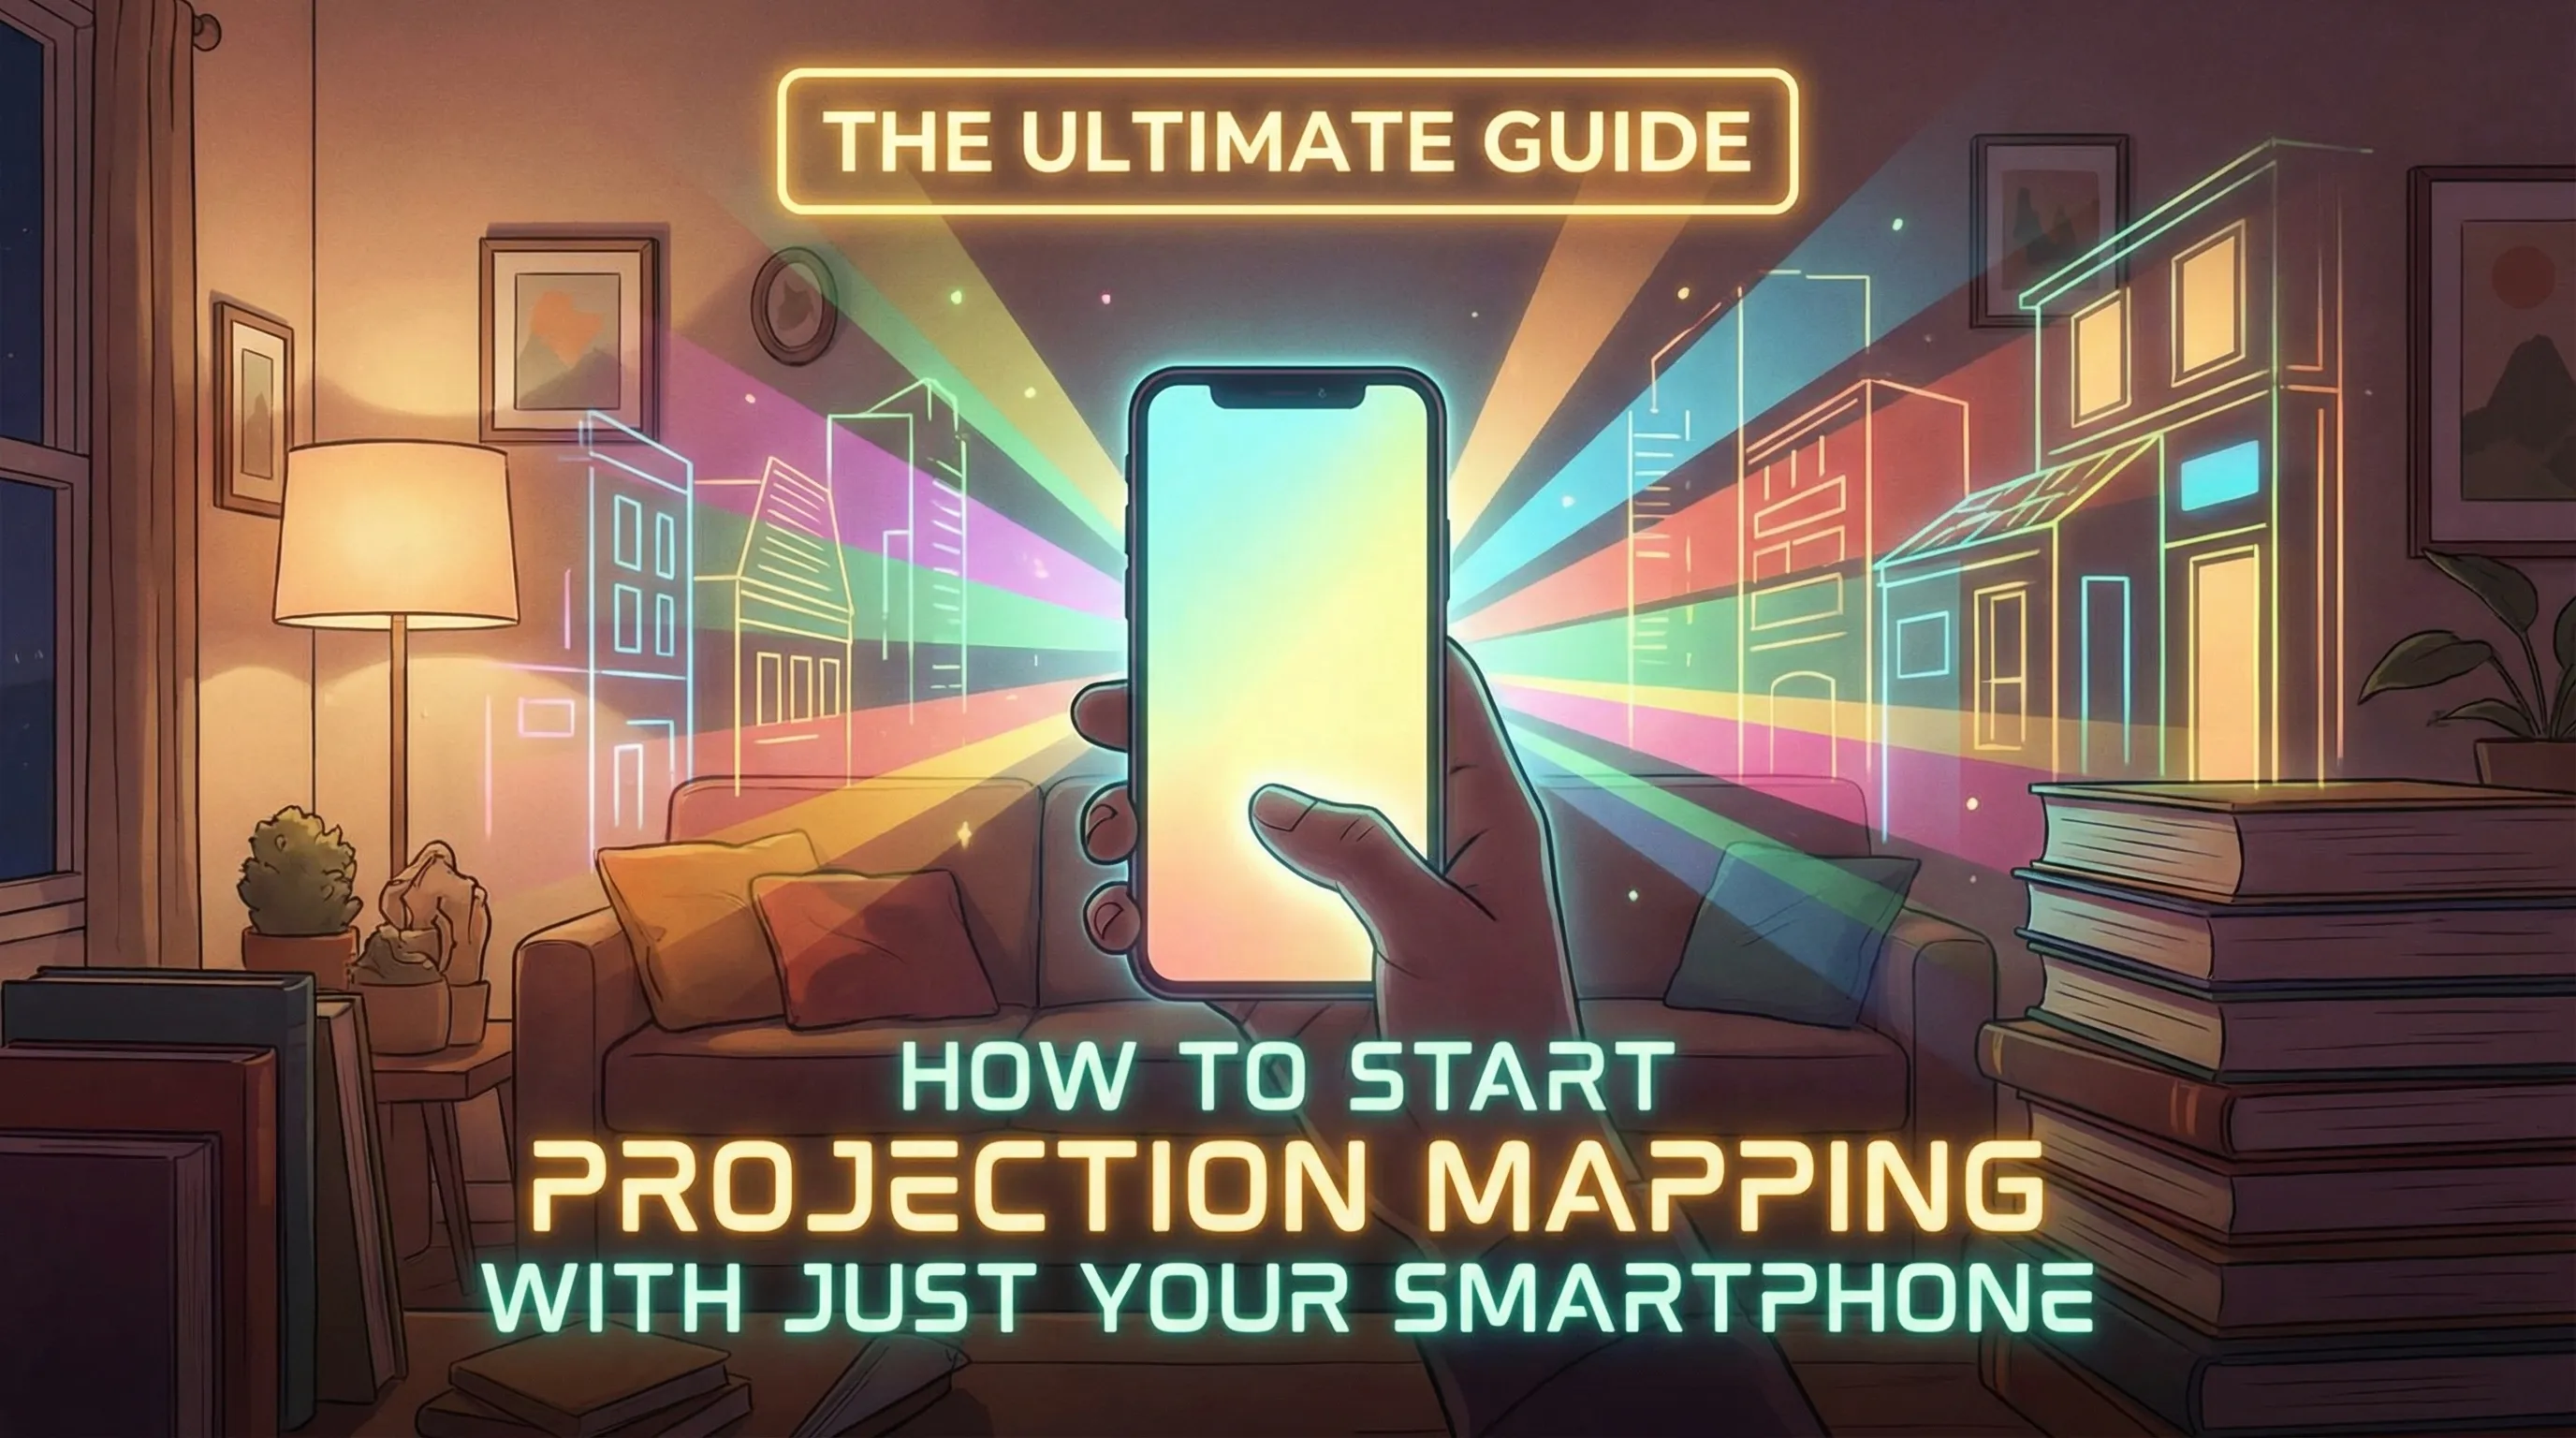
Introduction: The Death of the Heavy Rig
For years, spatial augmented reality (the technical term for projection mapping) had a high barrier to entry. A typical setup included a workstation-grade laptop, expensive media servers, and a pile of cables—often costing thousands. That era is over. With modern mobile GPUs and streamlined tools like SurfaBeam, the smartphone in your pocket can behave like a compact media server.
Whether you’re a DJ adding visuals to a set, a retail owner building an interactive window, or a digital artist experimenting with light and texture, projection mapping with a smartphone helps you create faster—without being tethered to a laptop.
1. Understanding the Tech: How Can a Phone Map 3D Objects?
Mobile projection mapping works because your phone can render, transform, and play high-resolution content in real time. Instead of physically moving the projector to fit a wall, you reshape the pixels in-app so the image matches your surface. SurfaBeam does this using digital masking and coordinate pinning, plus warping tools that mimic professional suites.
When you adjust corners and mesh points, you’re applying a practical form of keystone correction and warping. That “secret sauce” is what allows you to project onto non-flat objects like columns, cakes, statues, or angled architecture—without complex hardware.
2. The Mobile Mapping Gear Guide (The Minimalist Setup)
You don’t need more gear—you need the right gear. A clean, stable setup gives better results than expensive extras. Here’s a practical checklist built for DIY creators and professional event planners.
The Projector: portable or high-impact
- For portability: a pico projector or battery-powered LED projector (aim for 500–1000 ANSI lumens for darker rooms).
- For impact: any standard HDMI projector (BenQ, Epson, Optoma, etc.) works well when you control ambient light.
The Connection: latency is key
- Wired (recommended): Lightning/USB-C to HDMI adapters reduce lag and keep alignment responsive.
- Wireless: AirPlay/Chromecast for cable-free installs—best when your Wi-Fi is stable and dedicated.
The Software (the brain)
You want an app that supports multi-media playback and grid warping without a learning cliff. SurfaBeam is optimized for mobile mapping with a “what you see is what you get” workflow—ideal for quick setup and on-site iteration.
3. Step-by-Step: From Dark Room to Digital Masterpiece
Phase 1: Surface analysis & placement
Place your projector on a stable surface (a tripod helps). Aim it at your target “canvas” and ensure the light covers the full area you plan to map. Reducing ambient light will immediately increase contrast and make your masks look cleaner.
Phase 2: Geometry alignment (the mapping)
Open SurfaBeam and enter mapping mode. Start with corner pinning, then switch to mesh warping if the surface is curved or irregular. Think of this as sculpting the projection mapping geometry until the content hugs the object perfectly.
- Corner pinning: drag the four corners to match physical edges.
- Mesh & grid warping: add more points and push/pull the image around curves and depth changes.
Phase 3: Content loading
Import MP4 videos and PNG graphics. For clean illusions, use black backgrounds—because in projection mapping, black behaves like transparency. For example, flames on black can make it look like the real surface is burning.
Phase 4: Real-time synchronization
Once your map is set, trigger loops, adjust brightness, and fine-tune color live. Mobile mapping shines here: you can walk around the room while adjusting, instead of being locked behind a laptop at the projector.
Ready to try it?
Download SurfaBeam Pro and start mapping today.
Get the app, import a video from your gallery, warp it to your surface, and build your first projection map in a few taps.
4. Advanced Use Cases: What Can You Actually Do?
Mobile mapping isn’t just a party trick—it’s a practical tool for brands, venues, creators, and event teams. Once you’re comfortable with warping and masking, these use cases are easy to execute and look premium when done well.
- Micro-mapping: project menus or interactive art onto restaurant tables.
- Stage design: small-scale VJing for clubs, house parties, and pop-up events.
- Holiday displays: “singing pumpkins” for Halloween or snowing windows for Christmas.
- Architecture pre-viz: preview textures or colors on a wall before painting or printing.
Conclusion: Start Creating Today
The biggest beginner mistake is waiting for “better equipment.” Your most powerful tool is already in your pocket. Combine a portable projector with SurfaBeam’s precision warping and you’re no longer tethered to a desk. Your first projection map is only a few taps away—then it’s just iteration, creativity, and lighting control.

Want a faster workflow for mobile projection mapping?
SurfaBeam Pro helps you import media, apply digital masking, warp to real geometry, and iterate live. Download the app and build a clean first map before you overthink the gear.