Turn any wall, prop, guitar, ball or stage into a screen. The complete field guide — every panel, button and gesture, shown with its real on-screen icon, in the order you'll meet them.
▸ Android · iOS · macOS · Windows · Steam◐ 15 sections · simple → advanced✦ Projector optional to learn
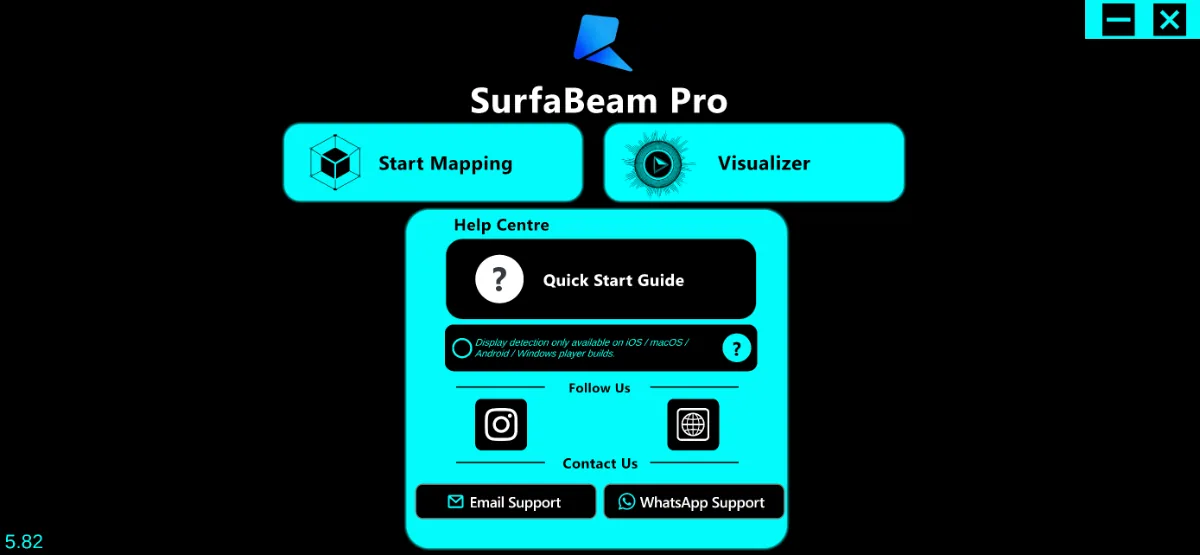
SurfaBeam Pro — Home
The launch pad — Start Mapping or Visualizer
How to readbutton tapgesture touch / dragslider drag to settoggle on / offmenu pick oneauto happens for youPro needs Pro / trial
00
First launch — what's free, what's Pro
Before you map anything, meet the screens that greet a first-time user, and see where the line between Free and Pro sits — so the rest of this guide can just say "Pro feature" once and move on.
The two doors into the app
Start Mappingbutton
The main door into the projection editor. On Free it runs the entry check first; if you're Pro it goes straight through.
Visualizerbutton
Jumps straight to the music & hand visualizers (section 09) without setting up a full map first.
On first launch in the EEA/UK a Google privacy & ads consent form also appears once — tap through it (accept or manage choices) to continue. It's expected.
Free vs Pro
◐ Free version
Full mapping, media, effects, tracking, visualizers and the Timeline are all usable.
A small watermark sits on the projected image and exported videos.
An entry gate (subscribe or watch an ad) meets you before mapping.
Saving & loading project files is reserved for Pro.
Go Pro
Removes the watermark and the ad gate entirely.
Unlocks every crown-marked button, including Save / Load / Export.
Plans: Monthly · Quarterly · Yearly (with "Save −XX%") and a one-time Lifetime.
Restore Purchases (iOS) re-applies a plan you already own.
Getting in for free — the ad gate
On Free (Android), the gate offers two rewarded-ad options — you choose how long an unlock to earn. Every one is a tap on a Watch Ad button:
The rewarded-ad unlock button
10 Min
Watch 1 ad → unlocked for a 10-minute countdown, then back here.
Session
Watch 4 ads → unlocked for the whole app session.
Good to know
On macOS, Apple doesn't allow "watch-an-ad-for-time," so the trial panel there is subscription-focused.
Pro features stay visible even when locked — they wear a small crown. Tapping a locked one opens the Go-Pro panel instead of acting.
On Steam (Windows), Pro is a one-time DLC purchase rather than a subscription.
You do not need a projector to learn — everything previews on your device screen.
01
Connect the projector
SurfaBeam sends the mapped image to a projector (or any second screen / AirPlay / Cast display) while your touch controls stay on your device. Your device is the console; the projector is the stage.
The Project Box — your status light
Project Boxpanel
Always on the main screen. Shows at a glance whether a projector is connected.
Projector ONauto
The ring lights up when a display is detected — output is going to the wall. Flips live as you plug/unplug.
No Projector — tap to connectbutton
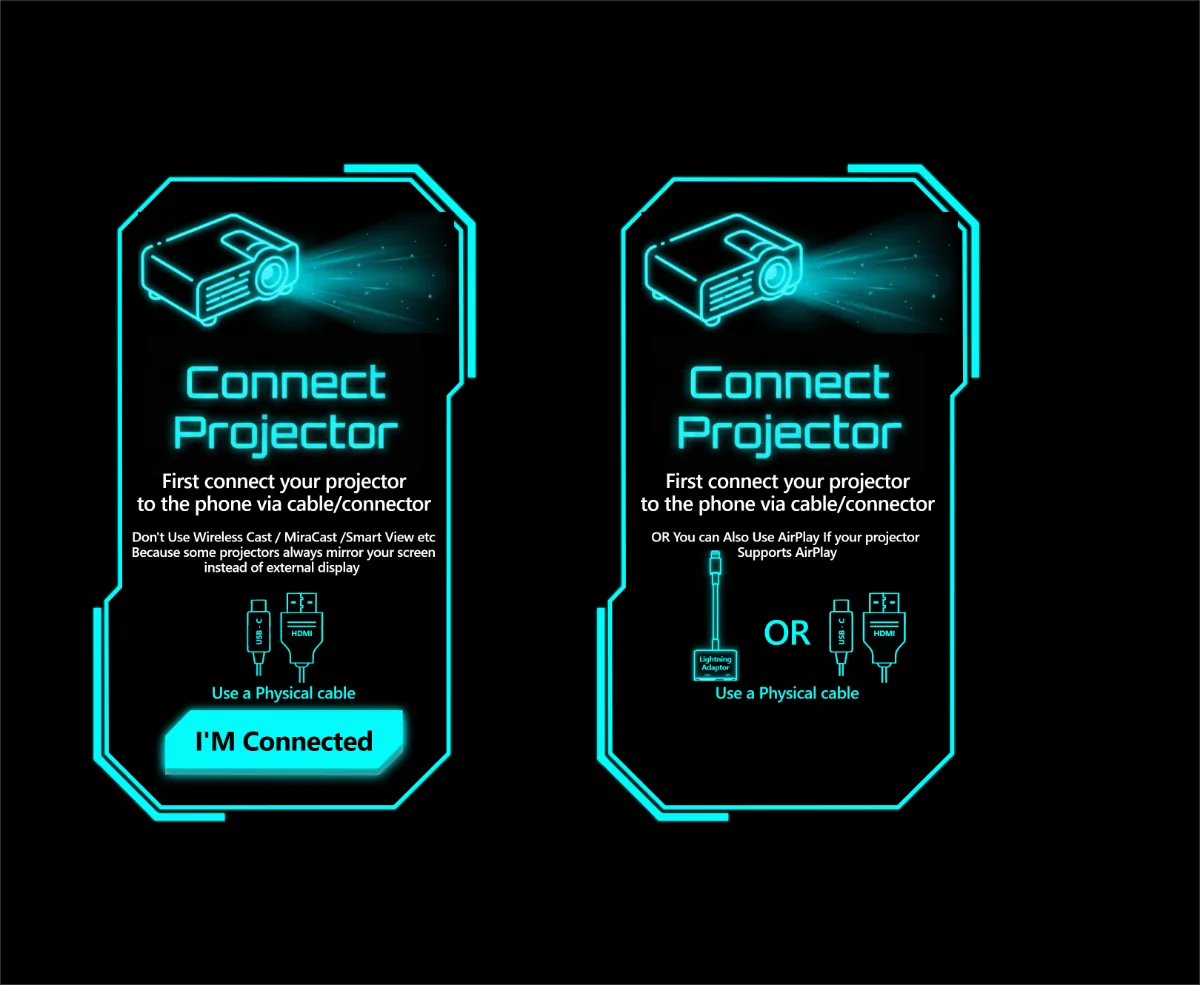
Shown when nothing's detected. Tap to open a help panel with the right cable / AirPlay steps for your device.
"I'm Connected"button
In the connect panel, confirm the link once your projector shows — the box flips green.
1920 ×1080
Status lineauto
Reads e.g. "Connected — Extended · Direct Cable · 1920×1080," and tells you cable vs wireless / AirPlay.
1→2
Display countauto
How many screens the app sees. 1 → 2 is the surest sign your projector was picked up.
Portrait Projection Modetoggle
One tap rotates the projected image to 9:16 portrait — for a projector mounted on its side. Your controls stay landscape.
The connect-projector help panel — per-platform cable / AirPlay steps
01Plug in. HDMI or USB-C (Android/Windows), HDMI/second monitor (macOS/Windows), or an adapter/AirPlay (iOS). Wireless Cast, Miracast, Smart View and AirPlay are auto-detected too.
02Order matters on some platforms. On macOS, Windows and iOS connect the projector before opening the app. On Android you can hot-plug any time — output jumps over in ~1 second.
03Open SurfaBeam. Your device shows the controls; the projector is treated as a separate output screen.
04Check the Project Box. Green + a resolution means you're live. Red? Tap it, follow the panel, close it — it flips green on its own once the display appears.
05Rotated rig? Tap Portrait Projection Mode so the image lands upright. Tap again to go back.
Projector tips
Wireless links are forced into extended mode (the app controls exactly what shows) instead of mirroring — but a cable is steadier than AirPlay for live shows.
Output resolution matches the projector automatically; you don't set it by hand for live projection.
No hardware handy? A built-in test mode can fake a "Connected (Test Mode)" state so you can see the connected UI while you learn.
02
Your first map in 5 minutes
The whole app rests on one loop. Learn it once here, then every later section is just a variation.
1
Start Mapping
Tap Start Mapping to enter the editor — a live preview with a red projection frame.
2
Add a Surface
Tap Add Surface (+). A rectangle with four corner dots drops into the middle.
3
Drag the corners
Pull each corner dot onto a real corner of the object you are projecting on.
4
Apply media
Turn Select Mode on, tap the surface, then Apply Video or Image. It fills and loops.
5
Save Recent
Use Save Recent to keep the whole scene. (Saving project files is a Pro feature.)
The loop, in one line
Add a surface → drag its corners to fit the real object → apply media → save. Everything else — warp, timeline, tracking, effects — hangs off that.
03
Surfaces — the core skill
A "surface" is a mappable region you draw over the live preview so a piece of a real object becomes a shape you can pour media into. Corner positions are stored, so the same map re-projects at any size — you only ever "drag the dots to fit."
The mapping toolbar — the app's own surface controls
Build & shape — buttons
Add Surface (+)button
Drops a new 4-corner rectangle (quad), already selected with its dots showing. Everything starts as a quad.
Add 3D Spherebutton
Creates a 3D sphere surface for round objects. Position it by moving it and using Scale — no per-dot dragging.
Scaleslider
Resizes around center — the selected surface only, or all of them if nothing's selected.
Rotate (sphere)toggle
Spins the selected sphere so media wraps around it. Warns if nothing is selected or the selection isn't a sphere.
Duplicatebutton
Copies the selected surface (shape + media) to drag into place — handy for repeated panels.
Bring Forward / Send Backwardbutton
The layer arrows change which surface draws on top where two overlap.
Undobutton
Reverses the last action — a moved corner, an added node, a move, or a delete (which returns with its media intact).
Delete (trash)button
Removes the selected surface(s). With nothing selected it deletes the most recently added one. Always undoable.
Node snappingtoggle
Dragged corners magnetically snap onto a neighbour's corner so edges line up seamlessly. Drag out of range to release.
Layer 1Layer 2
Layer list rowsmenu
Each surface is a "Layer N" row; tap to select, with a per-row delete — useful when surfaces overlap and are hard to tap.
Move & reshape — gestures
Corner dot draggesture
Press and drag one corner to move it. Touching a dot also selects its surface.
Tap a surfacegesture
Single tap selects it (highlights + shows dots) so edits apply to it.
✥
Hold, then draggesture
Hold still ~⅓ second until it highlights, then drag to move the whole surface. Dragging immediately pans the canvas.
+
Double-tap an edgegesture
Adds a new corner node onto that edge — turning a quad into a 5+ sided polygon to trace irregular shapes.
Gotchas worth knowing early
There are no triangle/pentagon buttons — you build any polygon by double-tapping edges (not dots) to add corners. To remove a corner, use Undo.
Tapping empty space doesn't deselect — the dots stay put so they never vanish mid-edit.
To move a whole surface you must hold still briefly first; sliding right away pans the canvas.
Spheres are special: no per-corner dots, resized with Scale, and skipped by Warp.
04
Warp mode — for curved objects
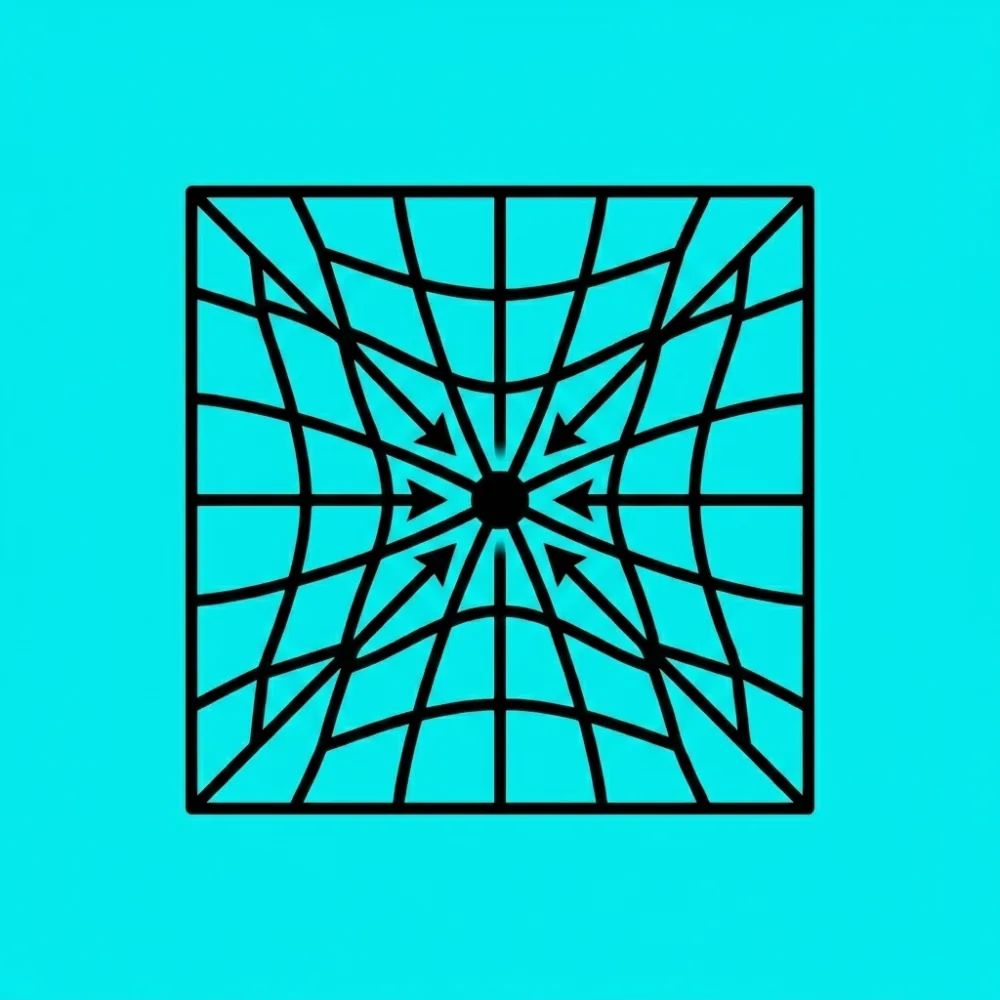
Straight-edge surfaces are perfect for flat panels. When your object curves — a pillar, an arch, a curved wall, a car hood — turn on Warp to bend the edges into smooth Bezier curves, Photoshop-style.
What warp does
Each straight edge becomes a curve you pull into shape with orange tangent handles. The whole mesh bends like fabric so your projection hugs a round surface exactly.
WARP
WARPtoggle
Turns curved-warp on/off for the selected surface (glows green when on). Nothing moves until you drag — it just remembers the current shape as a starting pose.
Double-tap a corner nodegesture
Reveals two orange tangent handles on that node. Double-tap again to hide them.
Drag an orange handlegesture
Bends the adjacent edge into a curve — one handle per side. Pull farther for a stronger curve; once dragged, that curve "pins" in place.
Drag a corner (warp on)gesture
Stretches the whole surface like fabric around that corner; untouched handles auto-adjust to keep edges natural.
01Select the surface (or WARP just flashes a "select a surface" warning).
02Tap WARP — it turns green. Nothing looks different yet; that's expected.
03Double-tap the corner at the end of the edge you want to bend. Two orange dots appear.
04Drag the orange dots until the edge hugs your object. Repeat on other corners.
05Done — double-tap a node again to tidy the handles away. Curves save with your project and survive undo.
Warp rules
Toggling WARP never changes the picture by itself — you must drag a corner or an orange handle to see a bend.
Orange dots bend an edge; corner dots reshape the whole surface. Don't confuse them.
Handles only appear when the surface is selected AND WARP is green.
Warp doesn't apply to spheres — they have their own shaping.
05
Images & video on a surface
Fill a mapped shape with a picture or a clip. The one rule to remember: Video Select Mode → tap surface(s) → Apply.
Applying media
Video Select Modetoggle
The gate. Turn it on before any Apply button works. It clears your selection and hides corner dots so you can freely pick surfaces.
Tap surface(s)gesture
In select mode, tap to mark surfaces (they highlight). Select several to cover them all at once; a sphere works too.
Apply Imagebutton
Picks a still (PNG/JPG) and fills every selected surface. Replaces any video/overlay there.
Apply Videobutton
Picks a video (MP4/MOV/AVI/MKV) or animated GIF; it starts playing and loops. GIFs count as looping video.
Media shelfpanel
A strip of built-in video-loop thumbnails. Tap one to apply instantly — no file picking. These auto-fit as "Cover."
PNG Overlay / Removebutton
Lays a transparent PNG on top of a playing video (logo, border, text) without replacing it; Remove strips just the overlay.
CLEAR
Clear mediabutton
Strips the applied video/image back to a blank surface.
Fine-tuning how it sits
Fit / Auto-Fitbutton
Cycles the fill each tap: Stretch → Contain → Cover.
Rotate Videobutton
Turns the content 90° per tap (four taps = full circle).
Zoom In / Out · Resetbutton
Scales the media inside the shape for framing; Reset Zoom returns to 1×.
Stretch / Squash X & Ybutton
Independently stretch or squash horizontally / vertically to hand-tune an irregular shape.
Pan · Reset Panbutton
Nudges which part of the media shows through the shape — up / down / left / right, with a reset.
Sync & Play Allbutton
Restarts every video on every surface together so multiple clips play in sync.
Mute Alltoggle
Audio off / on for all videos at once.
Media rules
Whatever you pick lands on all currently-selected surfaces — unselect the ones you don't want first.
Image and video are mutually exclusive as the base layer; use PNG Overlay when you want something on top of a playing video.
A clip that shows as a black shape is almost always an unsupported codec — re-export as standard MP4 (H.264).
Imported media is copied into the app's storage, so your project keeps working even if you move the original file.
06
Advanced masking
Two tools go beyond a plain rectangle of video: cutting a surface to the shape of an image, and running one continuous video across several separate surfaces.
Custom cutout mask
Pick Custom Maskbutton
Choose an image; the app uses its light/dark areas to cut the surface into that shape in real time. (PNG Overlay adds on top; this one carves out.)
Thresholdslider
Slides the cut-off point between "keep" vs "cut" — tune it live until the stencil matches your object.
Inverttoggle
Flips which side of the threshold is kept — swap the hole and the solid.
Extended video across multiple surfaces
Extended Mask Videobutton
Tags the selected surface as the parent canvas — one big video that other surfaces will each show a slice of. Define this first.
Child Video Maskbutton
Tags a surface as a child that shows its own portion of the parent's single video — so one clip flows continuously across several mapped objects.
Order matters
Always press Extended Mask Video on the parent first, then Child Video Mask on each of the other surfaces. This is the standard trick for one seamless video spanning many props.
The Custom Mask tool cuts the surface; the PNG Overlay (section 05) adds on top — reach for the right one depending on whether you're shaping or decorating.
07
Calibration & Auto-Calibrate
Calibration teaches the app where your projection lands as seen through a camera, so interactive effects line up with the real image instead of drifting. Do it once per setup — redo only if you move the projector, the camera, or the surface.
Auto-Calibrate (scan)button
One tap: projects a marker image, switches to the rear camera, finds the marker and computes the alignment for you. Tap again while scanning to cancel.
Projector / Camera Viewtoggle
Flips between the normal editor (drag your surface corners) and the live camera feed (align to what the camera sees).
Corner handle draggesture
In Camera View, drag each of the 4 coloured dots onto the matching corner of your projected shape. Each surface gets its own colour group.
Calibratebutton
Locks in the alignment from the corners you positioned and saves it.
Show / Hide handlestoggle
Hides the dots/outline to see the raw camera image clearly, without leaving calibration.
01Easiest path: tap Auto-Calibrate. A marker appears and the app switches to the rear camera.
02Aim the camera so it sees the whole marker; hold steady, room not too bright. It locks on and saves by itself (gives up after ~60s if it can't find it).
03Manual path: tap the view toggle → Camera View, drag each coloured dot onto its projected corner, then tap Calibrate.
04Both methods write to the same saved alignment — auto-scan first, then hand-nudge and Calibrate again.
Calibration tips
Auto-Calibrate uses the back camera on purpose. A timeout usually means it couldn't see the full marker — check the projection, dim the room, keep the whole marker in frame.
The first scan of a session is a touch slower (it warms the engine up); later scans are near-instant.
Don't rotate the device mid-scan — orientation is locked during a scan for good reason.
08
Live tracking — hands, body, objects
This makes your projection react to the real world. Point a camera at the scene, pick what to watch — hands, body, or objects — and effects collide with whatever moves. Nothing tracks and the camera stays off until you tap a mode.
The interactive-projections mode banner
Live Tracking ON/OFFtoggle
Master switch (also powers the camera). You rarely press it directly — tapping any mode turns it on for you.
Handbutton
Tracks your hands. Tap once to start; tap the active mode again to turn everything off. Active mode is highlighted blue.
Bodybutton
Tracks your whole body/skeleton. Required first for Segmentation and Body-Mask Media.
Objectbutton
Traces the real outline of a physical object in frame (a frame, a sign, a box) so effects bounce off its true shape. Available on every device.
Segmentationtoggle
Body-only. Swaps the stick-figure for a filled cut-out silhouette of the person.
Body-Mask Mediatoggle
While Body + Segmentation run, tap it green to mark your silhouette as a media target; then Apply Video/Image paints media into your body shape.
Flip camerabutton
Swaps back / front. Selfie-mirroring auto-syncs.
Camera dropdownmenu
Lists every camera — front, back, external USB (iOS 17+), plus an "IP Camera" row. Re-scans ~every 1.5s so a just-plugged USB cam appears.
IP Camera · Connectbutton
Streams a Wi-Fi camera (MJPEG-over-HTTP — "IP Webcam", ESP32-CAM, Hikvision/Dahua; rtsp:// too). Paste the URL, Connect; the last URL is remembered.
Camera blackouttoggle
Hides the raw camera picture while keeping the tracking overlay (dots/skeleton/outlines) visible on top.
"Loading … tracking"auto
A dimmed spinner that covers the brief model warm-up when you switch a mode. A first heavy load may show a download % bar — let it finish.
Tracking tips
Only one mode runs at a time, and tracking is mutually exclusive with the hand-driven visualizers (section 09) — starting one stops the other.
A black feed almost always means a denied camera permission — enable it in your device Settings (iOS only asks once).
Body Segmentation uses a fast GPU model on phones and a heavier one on desktop — expect a longer first load, and a one-time model download on mobile.
09
Visualizers — music & hand
Two separate pickers throw animated effects onto your mapped surfaces. One reacts to a song you load; the other reacts to your hand in front of the camera. They share some names, so pick by the input you want.
The Visualizer entry from the home screen
Music / audio visualizer
12
MODES
Mode dropdownmenu
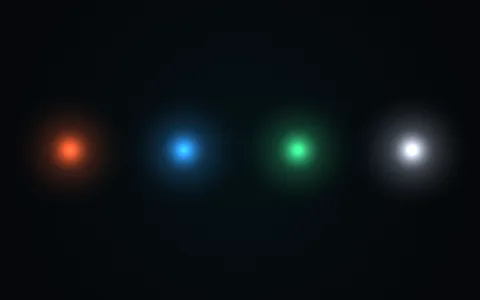
Fluid Water · Hyperspace Warp · Water Sim · Fire Fingers · Electric Beam · Glowing Tree · Radiation Aura · Fire Tornado · Explosion Ball · Elemental Auras · Galaxy · Particle Swarm.
Pick Audiobutton
Loads a music file (mp3/wav/ogg/m4a); it plays automatically and the visuals ride its beat and melody.
Play / Stopbutton
Transport for the loaded track — start the song and its reactive visuals, or stop them.
Finger drag on previewgesture
In the touch modes (Fire Fingers, Galaxy, Swarm, water), drag to place fire/particles/ripples; multi-touch = two hands.
Look controlsslider
Size · Size Response · Flow/Speed · Vanish · Color · Rotation · Symmetry count — base size, how loud passages grow it, flow speed, fade, hue, spin and mirror count.
Clear · Symmetry / Kaleidoscopetoggle
Clear wipes the water canvas so ripples start fresh; the two toggles turn mirrored / kaleidoscope drawing on or off.
The 12 modes — what each looks like
Reference renders of each mode's signature look; the real thing reacts live to your track.
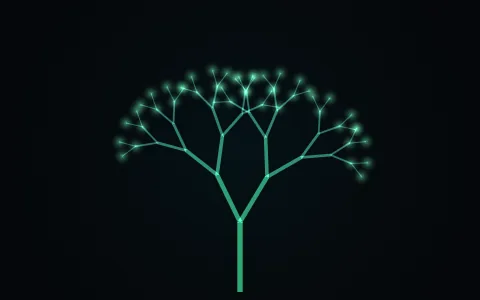
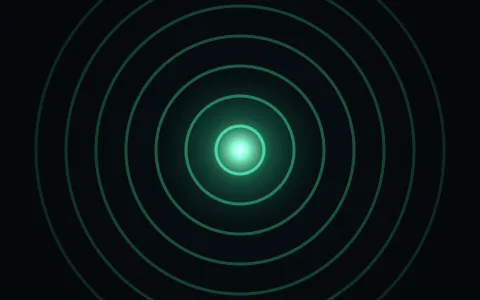
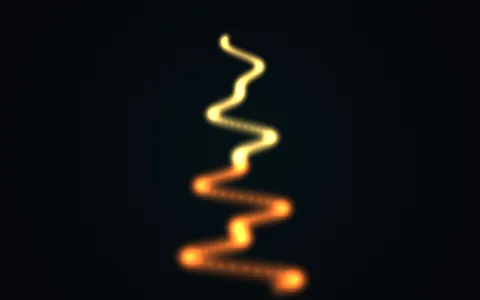
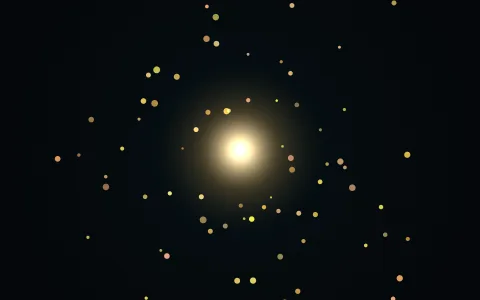
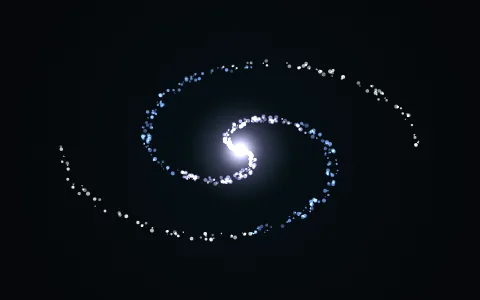
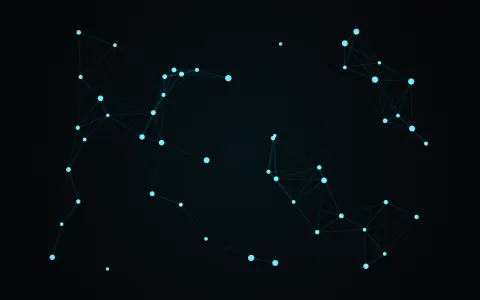
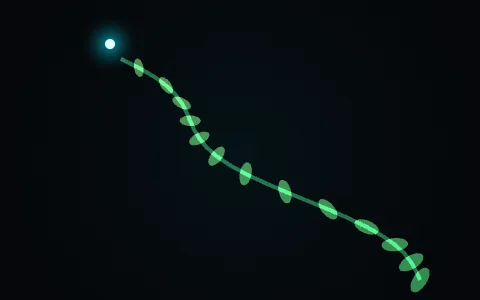
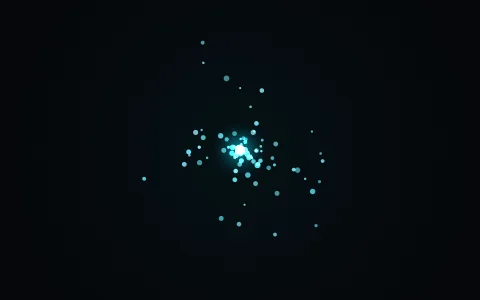
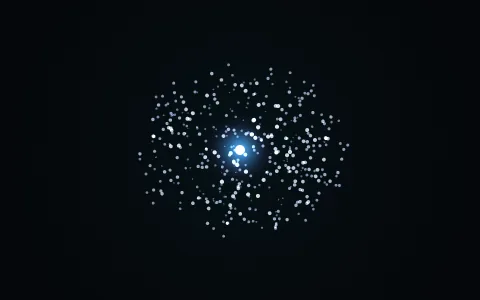
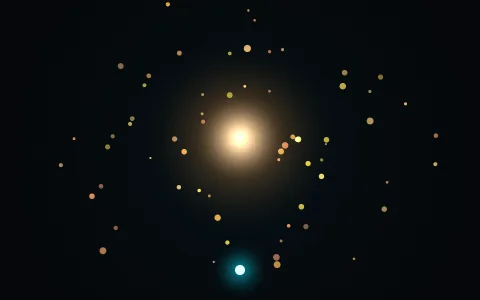
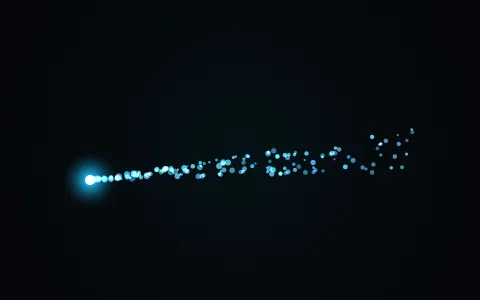
Fluid WaterDye-like teal fluid, swelling on the beatHyperspace WarpStar streaks blasting from the centreWater SimulationReal-shaded ripples across the surfaceFire FingersFlames that follow your finger dragsElectric BeamCrackling bolts strung between pointsGlowing TreeA branching tree that grows to the musicRadiation AuraPulsing concentric rings of lightFire TornadoA spinning column of embersExplosion BallBursts that punch on transientsElemental AurasFour element orbs cycling per beatGalaxyA spiral of stars swirling to soundParticle SwarmA networked cloud of reactive dots
Hand-reactive visualizer
Effects dropdownmenu
No Effects · Vine Trail (Hand/Body) · Particle Swarm · Hand Galaxy · Realistic FX · Water FX · Body Vine (Low). Picking one auto-starts camera + tracking.
✊
Pinch — Realistic FXgesture
A glowing aura follows your hand; pinch thumb+index to spawn a one-shot explosion. Open your hand before it fires again.
✋
Open hand — Water FXgesture
Hold your hand open to fire a continuous water beam where you move; close it to stop. Each hand runs its own.
Vine controls · Pick Leaf · Savepanel
For Vine Trails: sliders for grow/hold/wither time, scale and jitter; Pick Leaf swaps a custom leaf image; Save keeps the settings (Hand and Body vines saved separately).
Which picker?
The music dropdown's Galaxy/Swarm react to your loaded song (and finger touches). The hand dropdown's Hand Galaxy/Swarm react to your hand on camera.
The music visualizer needs a loaded song. The camera-driven effects that react to your hands or body are detailed next, in Interactive projection effects.
Options shown dimmed with "(locked)" need a more powerful device — the heavy Vine Trail (Body) wants a high-RAM flagship.
10
Interactive projection effects
These are the visualizer effects built into interactive projection — chosen from the Visualizer's Effects dropdown. The moment you pick one, SurfaBeam switches on the camera and the tracking it needs — your hand or a whole body — and paints the effect onto your mapped surfaces. Only one runs at a time. The previews below are reference renders of each look.
Effects dropdownmenu
The one control that starts these: pick an effect and the camera + the right tracking begin automatically. Pick No Effects to stop and release the camera.
Vine controls · Pick Leaf · Savepanel
Shown for the Vine Trails: sliders for grow / hold / wither time, base scale and jitter; Pick Leaf swaps in a custom leaf image; Save keeps the look (Hand and Body vines saved separately).
Hand-driven effects
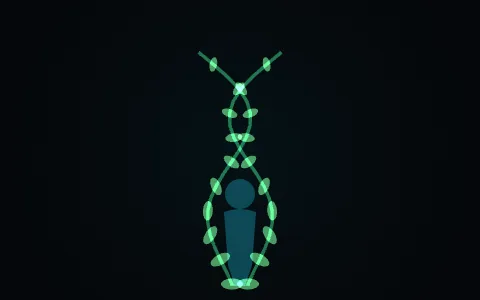
Vine Trail (Hand)menugesture
A leafy vine sprouts from your fingertip and trails wherever your hand moves; leaves grow, then wither. How: pick it, move your hand; tune it in the Vine panel or Pick Leaf for a custom leaf.
Particle Swarmmenugesture
A cloud of glowing particles chases your hand, swirling and lagging behind fast moves. How: pick it, then wave — quicker motion flings the swarm wider.
Hand Galaxymenugesture
A 3D sphere of stars orbits your hand. How: raise your hand, pinch to condense and recolour it, and tilt your hand to spin it.
Realistic FX (Hand)menugesture
A cinematic fire / energy aura swirls around your hand. How: pinch thumb + index to fire a one-shot explosion, then open your hand to arm the next.
Water FX (Hand)menugesture
Hold your hand open to blast a continuous water beam where you point; close it to stop. Two-handed — each open hand fires its own jet.
Body-driven effects
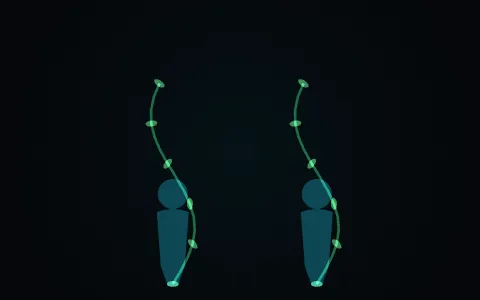
Vine Trail (Body)menubody
Vines climb out of every person in view and follow them as they walk — driven by full-body detection. Heavier: wants body tracking and a high-RAM device.
Body Vine Trail (Low)menubody
The same body-following vines on a lighter model, so mid-range phones can run them. Reach for this if the heavy Body vine is locked on your device.
OFF
No Effectsmenu
The dropdown's off state — stops the active effect and hands the camera back.
01Open the Visualizer (or the interactive view) and point the camera at your scene or stage.
02Open the Effects dropdown and pick an effect — the camera and the tracking it needs start automatically; accept the camera permission the first time.
03Let the "Loading…" spinner finish — a first heavy effect (the Body vines) may download a model once.
04Perform the effect's gesture — move, pinch or open your hand; for the body vines, just have people walk in view.
05For Vine Trails, open the Vine panel to tune the look, Pick Leaf for a custom leaf, then Save.
06Choose No Effects to stop and release the camera.
Good to know
Only one effect runs at a time, and picking one turns off plain Hand/Body/Object tracking (and vice-versa).
Heavy effects (Vine Trail Body) stay dimmed or "(locked)" until the device check passes and on low-RAM phones — the Low variant is the fallback.
A black camera feed almost always means a denied camera permission — enable it in your device Settings.
11
Balls, cars & birds
The "living toys" layer: physics objects that react to the surfaces you've already mapped. They all mirror into the editor preview, so you can play even without a projector. Map at least one surface first — an empty scene has nothing to bounce off, drive on, or perch on.
Bouncing Balls
Bouncing Ballsbutton
Master switch — rains balls that bounce off every mapped surface. Tap again to clear.
Pass-Through Surfacestoggle
With a surface selected, balls fall through it instead of bouncing. (Per-session, not saved.)
Bomb Modetoggle
Balls become bombs — they bounce, explode, and chain-detonate nearby balls.
Sandpile Freezetoggle
Locks settled balls in place so a big pile stops lagging the app. Off by default.
Physics slidersslider
Bounciness · Friction · Gravity · Drop Speed · Ball Size · Spawn Rate · Max Balls · Drop Position · Spread · Spin.
Apply Image to Ballsbutton
Skin the balls with a picture; a transparent PNG even makes them bounce by the picture's visible shape.
Cars & bikes
Start / End (Vehicle Mode)button
Start shows the driving controls and a "tap a surface to spawn" prompt; End removes the car and restores the editor.
+
Tap a surface to spawngesture
After Start, tap in the editor to drop the vehicle; it lands on your surfaces as the ground. Taps on control buttons are ignored.
Pedal · Brake · Tilt · Nitrousbutton
Hold Pedal to drive, Brake to slow/reverse, Tilt to balance mid-air, tap Nitrous for a boost (with a cooldown ring).
Car / Bike · Vehicle Sizetoggle
Swap between a car and a motorbike; the size slider scales it to fit your surface.
Birds
Birds on / offbutton
Releases (or removes) a wandering flock.
Set Flight Areabutton
Select a big boundary surface, tap this, and birds stay inside it and perch on the other surfaces within. Without it they roam the whole camera view.
Bird Count · Bird Sizeslider
Flock size (with +/− buttons) and scale, live.
Hide / Show Birds in Editortoggle
Declutters your editing view only — the projector keeps showing the birds.
Toy tips
Pass-Through and Set Flight Area act on the currently selected surface(s) — select first.
If a huge ball pile vanishes on its own, that's the built-in crash-safety clearing them to keep the app alive — lower Max Balls.
12
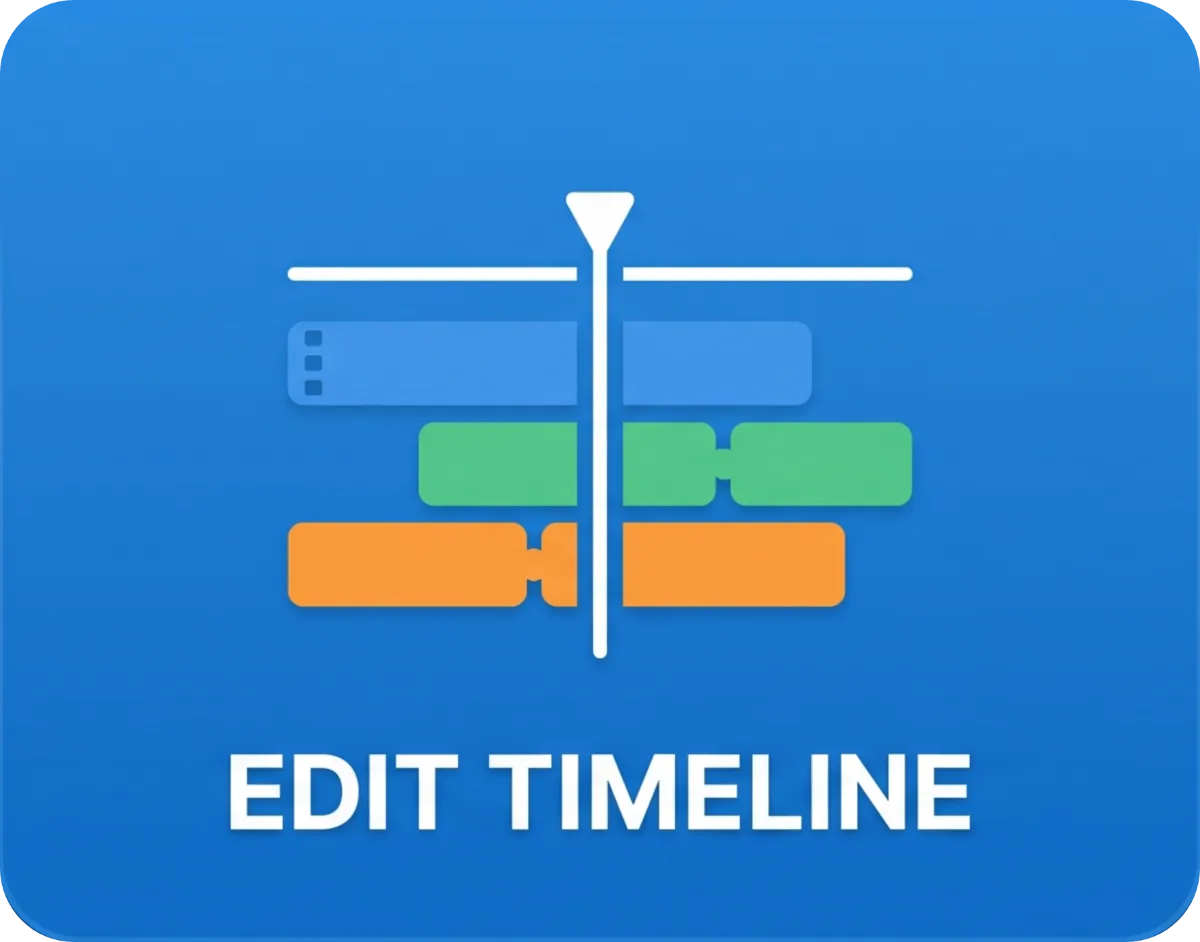
The Timeline editor
A built-in non-linear editor: lay media out in time across tracks (one track = one surface), preview it on your projection, and — with Pro — export the whole arrangement as a single video. It slides up from the bottom while you're in the mapping editor. Building and playing a Timeline is free; exporting it is a Pro feature.
Tracks, clips and a playhead — the non-linear editor
Open & play
TIMELINE ▾
Timeline tabbutton
Bottom-right; slides the panel up. Reads "Timeline (playing)" while a sequence runs. ▾ minimizes it (show keeps running) or drag to resize.
Play / Stop · Ruler scrubbutton
Play sweeps the playhead; Stop returns to 0:00; drag the ruler / red playhead to scrub anywhere (surfaces update live).
+−
Zoom + / − · Looptoggle
Zoom stretches/compresses the time grid (pinch works too — visual only). Loop repeats the whole sequence at the end.
Build tracks & clips
+ Surface+ Track
+ Surface · + Trackbutton
+ Surface brings an existing mapped surface in as a track; + Track makes a new one (its surface is created when you drop visual media on it).
Add ▾
· Media
· Birds
· Balls
Track "+" → Add menumenu
Choose Media (video · image · GIF · audio) or a Birds/Balls simulation clip (a 10-second trigger you trim).
Clip tap · drag · trimgesture
Tap to select (multi-select supported); long-press to drag a clip in time or to another track; drag the [ ] brackets to trim. A plain drag scrolls the grid.
SplitDelDup
Split · Del · Dup · Textbutton
Cut a clip at the playhead, delete, or duplicate. Text makes a new surface + track with a text clip (font, size, B/I/U, colour).
Speed 0.25×–20×
Speed · Rev · Mergeslider
Speed 0.25×–20× (not for image/text); Rev reverses a video/GIF; Merge fuses several clips on one track into one node.
SnapDetail
Snap · Undo · Detailtoggle
Snap clicks clips to edges/playhead (on by default); Undo steps back; Detail opens the clip inspector (exact Start / Duration / Trim / Speed, plus Zoom / Pan / Rotate / Fit).
Render / export
Renderbutton
Opens the export dialog for the whole timeline.
720p · 1080p · 4K 30 / 60 FPS
Resolution · Frame rate · Start/Stopbutton
720p / 1080p / 4K (1080p default), 30 / 60 FPS (30 default). Start renders with a live %; Stop finalizes a partial video.
Timeline tips
The Timeline lives only inside the mapping editor — there's no button for it on the home screen.
Tap selects a clip; it doesn't auto-open the editor (except a Text clip, which opens on a tap). Use Detail or long-press.
Rendering is frame-accurate and video-only (no audio muxed in), and won't start if a recording is already running. Keep the app in the foreground.
13
Save, share & record
Your whole session — surfaces, media, masks, layout/warp and the Timeline — is one project file (a plain .json). Separately, the app can capture the live projection as a video or a still. There is no cloud sync and no account-linked project sync — nothing travels between your devices on its own. Getting a project onto another machine means exporting the file and moving it (and its media) across yourself. Saving, loading and exporting project files are Pro features.
Projects
Save RecentbuttonPro
One tap saves everything to the app's internal "Recent" slot (overwrites the last one).
Load RecentbuttonPro
Reopens the last saved/auto-saved project. Confirms first if you already have work on screen.
Save to Files / ExportbuttonPro
Writes a portable Scene_<date>.json — native Save dialog on desktop, Files/share sheet on mobile.
Load from Files / ImportbuttonPro
Opens a project file you exported or received (same "replace what's on screen?" confirm).
every ~20s
Auto-save (Recent)auto
Silently re-saves to Recent ~every 20s and on background/quit — but only once a surface exists, and it never auto-loads. Reopen with Load Recent.
Record the projection
Recordtoggle
Real-time capture of the live projection to video; tap again to stop. Best for grabbing exactly what's happening live.
Rendertoggle
A slower, frame-accurate offline pass for a smoother file (for heavy video/Timeline). Stopping early still bakes what's done.
Export / Save videobuttonPro
Saves out: Photos (iOS), Gallery (Android), or a Save dialog (Mac/Windows). Named SurfaBeam_<date>.mp4. A preview loops first so you can check it.
Capture still imagebutton
Saves a single photo of the projection to Photos / Gallery / disk.
Save & record tips
Moving a project between devices is a manual job, not a sync. Nothing is uploaded to an account and nothing appears on your other device by itself. With Pro you can Save to Files to write a Scene_<date>.json, carry it over (AirDrop, a cable, a cloud drive of your own), and open it with Load from Files.
The file stores links to your media (in the app's storage), not the media itself — so a .json opened on a different device restores the layout but may miss the videos. Move the media across too, or re-add it, and re-check the alignment: a map calibrated against one projector position is not valid at another.
Record = quick real-time (can stutter under heavy video); Render = slower, smoother, frame-accurate.
Capture won't start below ~512 MB free storage; your screen stays awake for the whole capture.
14
Device, screen & the little extras
Most of this happens for you — but knowing it exists explains why a button might be greyed out, or why a panel pops up.
Will my device run everything?
~20s BENCHMARK
First tap on a dimmed modeauto
On a typical Android phone the heavy tracking modes start dimmed. Your first tap runs a one-time ~20-second benchmark (the camera view goes black — normal) instead of starting the effect.
Hand · 60 fps
Body · 32 fps
Segm · 11 fps
Device-check reportgesture
Shows measured FPS per feature and which are available. Tap anywhere to close — then tap the feature again to actually use it.
Blocked (dark-red) featurebutton
Measured too slow (under ~15 FPS) to run smoothly; tapping shows "your phone isn't compatible." Object detection is never locked (it's lightweight).
CPU · GPU RAM · FPS Low → Flagship+
Check device (manual)button
Runs the benchmark on demand and shows a full report: CPU/GPU/RAM, per-effect FPS, and a suggested tier (Low → Flagship Plus). ~11 GB+ RAM phones and all desktops skip the test and get every feature.
Screen & navigation
⟳
Rotate the devicegesture
Auto-rotates and swaps to a layout hand-tuned for that orientation. Separate portrait vs landscape layouts are remembered — controls may sit in different places (intended).
Phone / tablet / desktop UIauto
Chosen at launch by platform + physical screen size; rotating never re-classifies your device.
Physical Portrait Projectiontoggle
Rotates the projected image for a sideways-mounted projector; your touchscreen UI stays landscape.
Panels you might see
★★★★★
Rate Uspanel
Tap 1–5 stars, then Submit — a high rating opens the store review sheet; a low one opens a private feedback form. X to dismiss.
Message banner + Followpanel
An occasional announcement banner (iOS/macOS) with Instagram / WhatsApp buttons that open those apps. Dismissible.
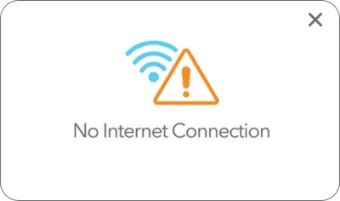
No-Internet panelpanel
Shown if you're offline during an unlock step. Reconnect and retry.
Device tips
The benchmark runs once per install and is remembered — later launches apply the same enabled/disabled features instantly. Don't rotate or switch apps during it, or it restarts.
The first tap on a dimmed mode only runs the check; tap again to use the feature.
Visualizer effects stay dimmed until the tracking feature they need has passed the check — run the tracking check first if an effect is greyed out.
Frequently asked questions
Do I need a projector to learn SurfaBeam Pro?
No. You do not need a projector to learn — everything previews on your device screen, so you can practise mapping, media and effects before you ever connect a projector.
Is SurfaBeam Pro free?
Yes. The Free version includes full mapping, media, effects, tracking, visualizers and the Timeline. A small watermark appears on the projected image and exported videos, an entry gate (subscribe or watch an ad) appears before mapping, and saving/loading project files is reserved for Pro. Pro removes the watermark and ad gate and unlocks Save, Load and Export, with Monthly, Quarterly, Yearly and one-time Lifetime plans.
How do I use SurfaBeam Pro for free on Android?
On Free (Android) the entry gate offers two rewarded-ad options: watch 1 ad for a 10-minute unlock, or 4 ads to unlock the whole app session. On macOS, Apple does not allow watch-an-ad-for-time, so the trial panel there is subscription-focused.
Which platforms does SurfaBeam Pro support?
SurfaBeam Pro runs on Android, iOS, macOS and Windows. On Steam (Windows), Pro is a one-time DLC purchase rather than a subscription.
What is projection mapping in SurfaBeam Pro?
Projection mapping turns any wall, prop, guitar, ball or stage into a screen. In SurfaBeam Pro you add a surface, drag its corners to fit the real object, apply media, then project — warp, masking, tracking, visualizers and the Timeline all build on that core loop.

 Go Pro