Introduction: The 10-Minute Digital Mapping Transformation
The terms digital mapping, projection mapping, and video mapping often bring to mind giant cathedral light shows or Olympic stadium visuals. But the core technology—Spatial Augmented Reality—is now accessible to anyone with a smartphone and a surface. If you have 10 minutes and the right app, you can turn a wall, a storefront window, or even furniture into a living digital art display—no laptop, no Lazy Lighting rig, and no specialist software required.
Minutes 1–3: The “Zero-Gear” Preparation
The biggest beginner mistake is overcomplicating hardware. Keep it lean for a fast win.
The Surface (The Canvas)
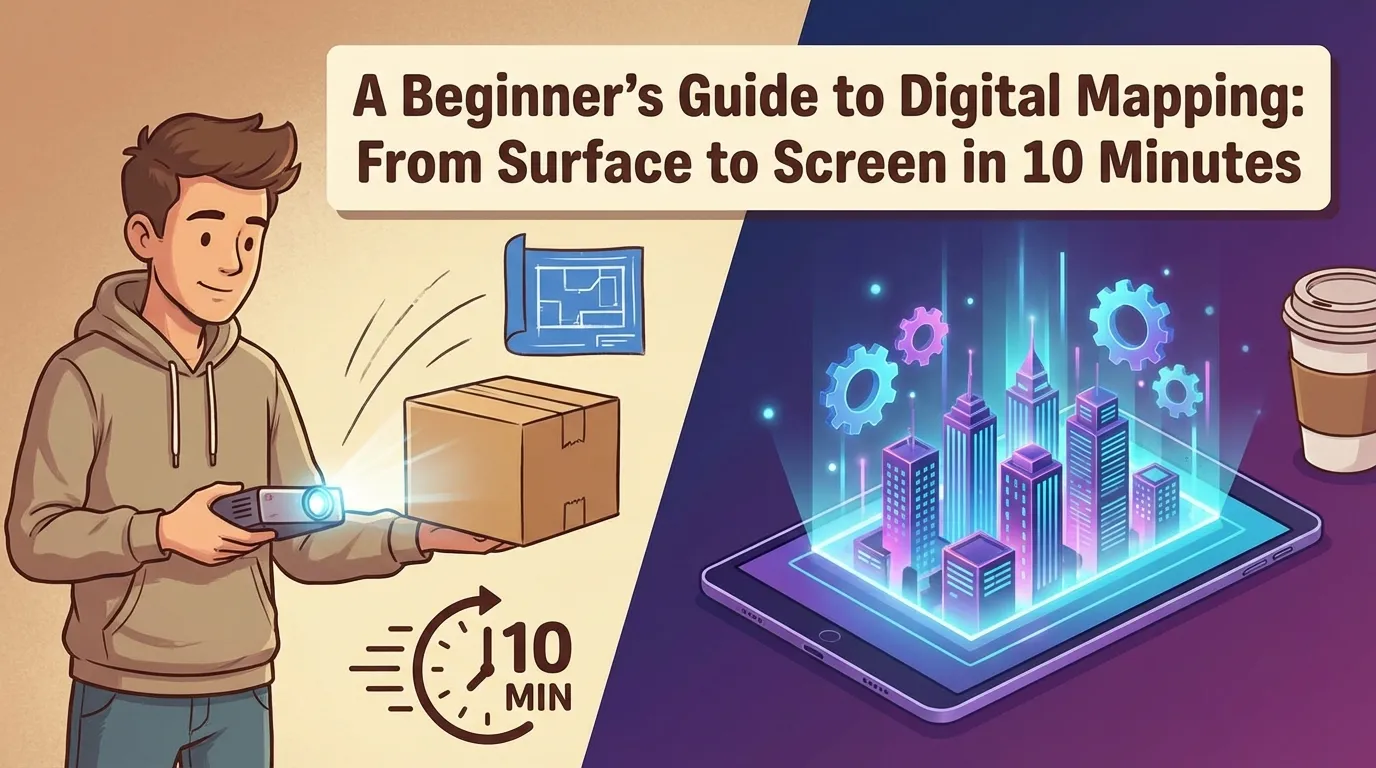
Pick a matte surface. White walls are best, but light-colored fabric or a cardboard box works great for practice.
The Light (The Projector)
Place your projector about 3–5 feet from the surface and keep it level for easier alignment.
The Brain (The Phone)
Open SurfaBeam on your phone. Connect via an HDMI adapter (recommended) or wirelessly (AirPlay/Chromecast).
For beginners, a pico projector is a great entry point—portable, battery-powered, and quick to set up.
Minutes 4–6: Defining the Boundaries (The Mapping)
Once your phone screen is visible on the surface, define where the “art” should live. This is where the SurfaBeam workflow starts to feel like magic.
Select Your Shape
Start simple: choose a “Quad” or “Square” mask in the app.
Corner Pinning
Drag the four control points until they align with your surface edges. You’re telling the software exactly where the physical world ends.
The “Lock” Feature
Lock the points after alignment so you don’t accidentally shift the map while holding your phone.
Minutes 7–8: Advanced Geometry (Grid Warping)
If your surface isn’t perfectly flat, grid warping fixes it fast. Enable the Mesh Tool in SurfaBeam to generate a grid and “wrap” content around gentle curves (like pillars or round tables) without stretched or distorted visuals.
Minutes 9–10: Content & Playback
Now for the payoff—load content and go live.
- Importing media: choose a high-contrast video or bright image from your library.
- Blending: adjust opacity to see how light interacts with surface texture.
- Hit live: press play—your first projection map is done.
Common Beginner Mistakes to Avoid
- Ambient light: too much light turns blacks into grey—dim the room for best contrast.
- Projector bump: secure your setup before pinning corners (one bump ruins alignment).
- Low-res content: use at least 1080p to avoid pixelation on large surfaces.
Conclusion: From Hobbyist to Creator
Digital mapping isn’t a “pro-only” club anymore. With SurfaBeam, the surface-to-screen workflow is faster, cheaper, and more intuitive than ever. You’ve got the basics in 10 minutes—imagine what you can build in an hour.
Ready for the next step? Download SurfaBeam and experiment with the Mesh Tool to map more complex 3D objects.
Ready to try it?
Download SurfaBeam Pro and start mapping today.
Get the app, import a video from your gallery, pin corners to your surface, and refine curves with the Mesh Tool in a few taps.
Want a faster workflow for beginner-friendly digital mapping?
SurfaBeam Pro helps you define a digital canvas, corner pin your boundaries, warp content with the Mesh Tool, and iterate live. Download the app and build a clean first map—fast.