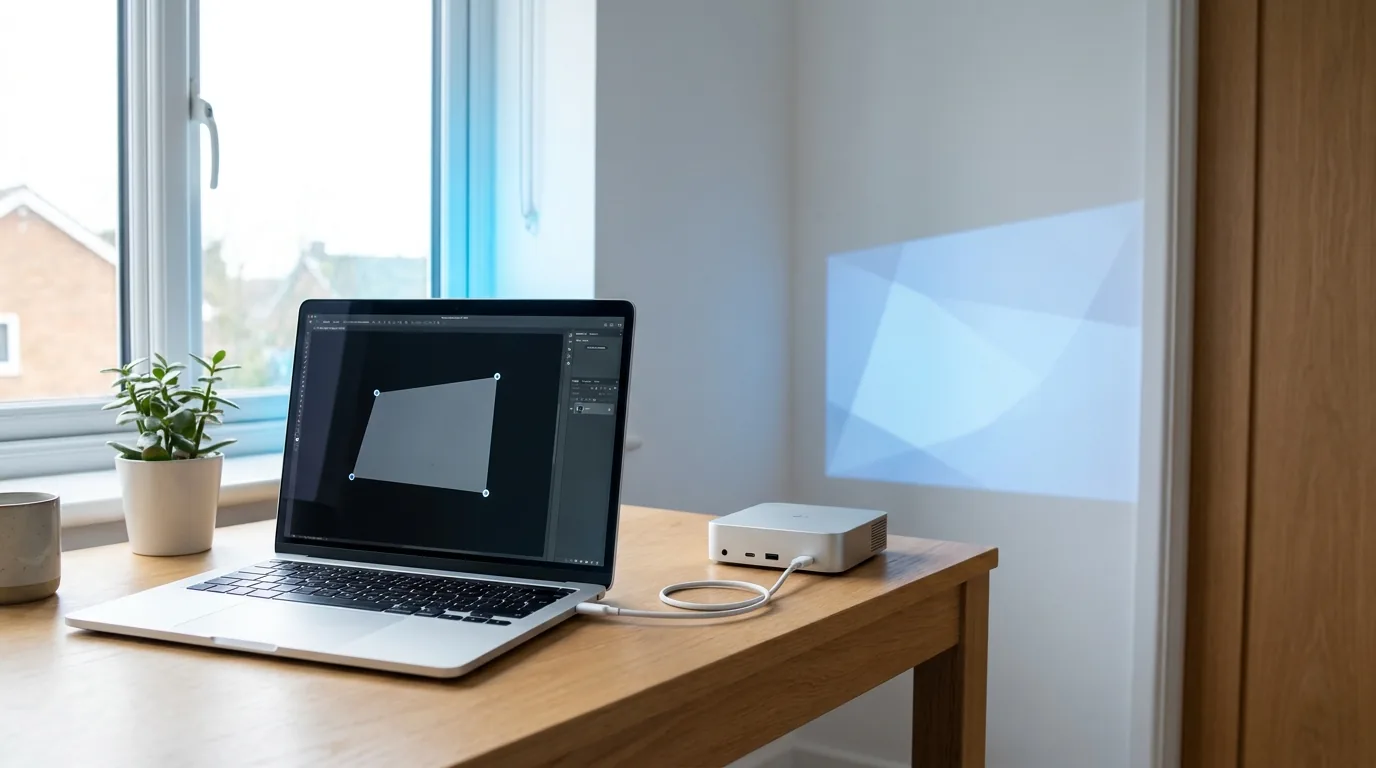
Why Map From a Mac
Macs are common in this field for practical reasons rather than brand ones. Three of them matter: macOS handles an odd-resolution second output without much argument, hardware video decoding makes 1080p and 4K playback cheap in CPU terms, and the content is usually cut on the same machine in After Effects, Premiere or Resolve.
That third point does more work than it sounds like it should. A map is not finished when the geometry is right; it is finished when the content fits the geometry, and getting there takes several rounds of export, project, look, re-cut. With the editor and the mapper on one machine, each round costs a few minutes rather than a file transfer — and the grade you signed off on the timeline is the grade the projector receives, with no intermediate device deciding to be helpful.
Against that, a phone or tablet still wins the calibration pass — dragging a mesh vertex with your finger while standing at the surface beats the adjust-at-laptop, walk-over, look, walk-back loop every time. Most Mac users end up doing both, which is the workflow described further down.
If corner pinning and masking are new to you, start with the projection mapping software pillar guide — the concepts are identical on every platform, and only the plumbing below is macOS-specific.
One App Store Listing Covers macOS, iPadOS and iOS
This is worth stating plainly because it costs people ten minutes of searching. SurfaBeam has one Apple App Store listing, and it covers iPhone, iPad and Mac. There is no separate Mac App Store page, no second product to buy, and no standalone disk image to download from our site. The App Store link in every button on this page is the macOS link as well as the iOS one.
In practice: open the App Store app on the Mac and search for SurfaBeam, or open the App Store link on the Mac itself, which hands you straight to the listing. If a search does not surface it, use the link — App Store search results vary by store region and by device, and the direct link takes the guesswork out.
Because it is one listing rather than two separate products, a Pro purchase is attached to your Apple ID rather than to a particular machine. If Pro does not appear after you sign in on another device, use the app's restore-purchases option before you buy anything a second time. Windows is the platform with genuinely separate installers — a direct .exe, the Microsoft Store and Steam, where the base app is free and Pro is a one-time DLC. That split is covered in the Windows setup guide.
Setting Up the Projector in macOS Displays
More Mac shows are ruined by display settings than by mapping mistakes. Ten minutes here saves you a Dock appearing halfway up a building.
Extended, not mirrored
Connect the projector, then open System Settings > Displays (System Preferences > Displays on macOS versions before Ventura). Click the projector's tile and set it to be used as an extended display rather than mirroring the built-in screen. Mirroring forces both panels to a compromise resolution and puts your controls, your file browser and every notification onto the wall. Extended gives you what you want: the Mac screen holds the interface, the projector shows only the mapped output.
Leave the built-in screen as the main display — the one carrying the menu bar. The Dock, alerts and banners follow the main display, so keeping it on the laptop keeps them off the projection. It is the single highest-value setting in this list.
Arranging the two displays
Open the Arrange view in Displays and drag the projector's tile so it sits on the side that matches where the projector actually is. This is not cosmetic: it decides which edge you push the pointer through to reach the projected canvas, and getting it backwards means dragging a window off the wrong side every time you set up. Pick a side and stay consistent across jobs, so muscle memory carries.
One Mission Control setting is worth knowing too. If Displays have separate Spaces is on, a full-screen window claims one display and leaves the other showing a blank desktop — test which way you want it before the venue rather than at it.
Resolution, refresh rate and colour
Set the projector's output to its native panel resolution — usually 1920×1080, sometimes 3840×2160 — not to a scaled approximation. Scaling twice is how sharp edges go soft, and a mapped edge that should read as a hard line against darkness is exactly where softness shows. In the Displays panel, holding Option while you click Scaled reveals the full set of modes the display reports, which is useful when a projector advertises an unusual one.
Match the refresh rate to your content's frame rate where you can: a 25 fps clip on a 60 Hz output has an uneven cadence that shows as judder on slow pans. And check that Night Shift is off for the projector — a warm tint that flatters a laptop screen at 9pm will visibly shift the colour of everything you project.
Stopping macOS from interrupting the show
Before anything unattended, turn a Focus mode on so notification banners are silenced, set the screen saver to never, and set the display sleep timer on power to never. Disable any hot corner that triggers Mission Control or the screen saver, because the pointer will end up parked in a corner. If the Mac is running on battery and the lid will be closed, keep it plugged in — low-power mode and lid closure both change how displays behave, and a show is not the time to find out how.
Getting the Picture Out of a Modern Mac
Output hardware varies more across the Mac line than people expect. The 14- and 16-inch MacBook Pro, the Mac mini and the Mac Studio have a built-in HDMI port, so a single cable does the job. The MacBook Air and the 24-inch iMac are USB-C and Thunderbolt only, which means an adapter sits between your machine and the projector — and that adapter is the part that fails.
Buy a plain USB-C to HDMI adapter from a manufacturer that states the resolution and refresh rate it supports, and test it at the resolution you will actually use. Inexpensive adapters are often built to an older HDMI specification and top out at 4K30, or they drop out over longer cable runs, and the failure mode is intermittent rather than obvious: fine on the bench, black for two seconds every ten minutes on the wall. For show output, prefer a direct adapter over a hub carrying HDMI, power, ethernet and a drive at once, and keep the hub for the office.
Cable length is the other variable. Passive HDMI is dependable over short runs and gets less predictable as the run grows, and it degrades sooner at 4K than at 1080p because the bandwidth is higher. Once you are past a few metres, buy a cable certified for the resolution and refresh rate you need rather than whatever came in the projector box; for a genuinely long run, use an active or optical HDMI cable, or an HDBaseT extender over network cable. Always carry a spare cable and a spare adapter; they weigh nothing and they are the two items that end evenings.
How many projectors a Mac can drive depends on its chip, not on the software. Base-tier Apple Silicon supports fewer external displays than the Pro, Max and Ultra tiers, and the number has changed across generations — check the specifications page for your exact model before planning a two-projector setup around it.
What Apple Silicon Means for Real-Time Rendering
Two architectural details on Apple Silicon matter to a mapping app, and both work in your favour.
The first is unified memory. CPU and GPU share one pool, so a decoded video frame does not have to be copied across a bus into separate graphics memory before it can be warped and drawn. Multiple video layers and large textures therefore behave better than a raw comparison of GPU core counts would suggest, and the memory figure on the spec sheet is a more useful number than it is on a PC.
The second is the dedicated media engine, which decodes H.264 and HEVC in fixed-function hardware rather than on the CPU cores. That is why an H.264 MP4 at the projector's frame rate remains the right delivery format on a Mac: it plays back with headroom to spare, leaving the GPU free for the warping, masking and effects. Hardware ProRes support is a separate line on the spec sheet — it appeared first on the higher-tier chips and has spread down the range since, so check your own model rather than assuming. It helps if your content pipeline is already ProRes, though at that point disk bandwidth becomes the thing to watch rather than the chip.
The real ceiling on a long show is thermal, not computational. A fanless MacBook Air will throttle on a long unattended run; a MacBook Pro, Mac mini or Mac Studio holds a steadier clock. For anything that has to survive an evening on its own, use a fanned Mac, keep it out of a hot cupboard, and give it mains power. If you are on an Intel Mac, check the compatibility line on the App Store listing before you plan around any of this.
Install it on the Mac you already have
One App Store listing covers macOS, iPadOS and iOS — the same link installs on all three. Free to start: full mapping, media, effects, tracking, visualizers and Timeline.
The Mac and iPad Workflow
Because one listing covers both, the same app is on your Mac and your iPad without buying anything twice, and that opens a split that suits real jobs: build on the Mac, adjust on site from the iPad.
On the Mac you have a keyboard, a large screen and the rest of your content pipeline. Cut and loop the clips, place them on the Timeline, and — with Pro — use Map Export to PNG so the calibrated geometry becomes a template in After Effects and the artwork is designed to the surface rather than fitted to it afterwards. Then take the iPad to the venue for the pass that benefits from being two metres from the wall.
Be clear about what this is not. SurfaBeam has no remote-control mode where the iPad drives the Mac; the iPad runs the full app itself. Moving a project between them means moving the file yourself with AirDrop or iCloud Drive, and saving and loading project files is a Pro feature. If what you actually want is a tablet acting as a remote for a desktop show machine, HeavyM Remote is built for exactly that alongside HeavyM, and that is where we would point you.
One caution on Sidecar: it turns an iPad into a wireless second screen for the Mac, which is handy for parking controls but wrong for the projector feed — wireless latency belongs nowhere near an output. The iPhone and iPad guide covers the handheld side, including USB-C and Lightning HDMI output and AirPlay.
Choosing Projection Mapping Software for Mac
macOS is well served in this category, and three names come up constantly. Each of them beats SurfaBeam at something specific, so the useful question is not which is best but which job you have in front of you.
MadMapper
Widely treated as the reference tool on macOS, and also available on Windows. It is a paid product — check the current licence options and pricing on their site rather than trusting a figure quoted in an article. What it does better than us: fine-grained control over meshes and surfaces, mapping onto 3D geometry, multiple outputs, and LED work — driving DMX and Art-Net fixtures from the same document as the video is a genuine differentiator, not a bullet point. If your installation mixes projection with addressable LED, MadMapper is the right answer and we are not competing. We go through the trade-offs in more depth in the MadMapper alternatives guide.
Resolume Arena
Resolume runs on macOS and Windows, and it ships in two tiers: Arena carries the advanced output, mapping and soft-edge blending toolset, and the lower-priced Avenue tier does not. That is the distinction to check before you buy, because the tiers are easy to confuse from the outside. Arena's strength is live performance: a clip-launching grid, deck-based composition, audio-reactive parameters and MIDI control built for someone standing behind a controller for a three-hour set. If the projection is part of a VJ show rather than a fixed installation, Arena is the better instrument — and the Resolume alternatives guide covers where a lighter tool does and does not stand in for it.
Millumin
Millumin is macOS-only, which makes it unusual and, for some buyers, exactly right — it is built entirely around the Mac rather than ported to it. Its natural home is theatre, dance and museum work: cue-driven playback where an operator follows a script, layered with video mapping, show-control integration and interaction. If your show is a sequence of cues fired against live performers, Millumin's model fits better than anything designed for a looping installation. The flip side is the platform lock: there is no Windows fallback if a venue supplies the machine.
Where SurfaBeam fits
SurfaBeam is a single-output cross-platform mapper: mesh warping, corner pinning, digital masking, multi-surface mapping, MP4 and PNG import, touch- and sound-reactive effects, hand, body and object tracking, visualizers and a Timeline editor, with AirPlay and Chromecast output alongside wired HDMI — over USB-C on a Mac, over USB-C or Lightning on an iPhone or iPad. On macOS it is the option to pick when the job is one projector, the setup time is short, and the ability to carry the identical app to the surface on an iPad or phone is worth more than a deeper feature list.
It is not a multi-projector edge-blending system, it does not weave DMX and Art-Net fixture control into the timeline, and it is not a replacement for a media server on a full facade. For those jobs, the tools above — or a hired media server — are the correct answer.
| Tool | Platforms | Licensing model | Strongest at |
|---|---|---|---|
| SurfaBeam | macOS, Windows, iOS/iPadOS, Android | Free tier; Pro subscription or one-time Lifetime (one-time DLC on Steam) | Single projector, fast setup, same app on Mac and iPad |
| MadMapper | macOS, Windows | Paid licence — check current options | Detailed mesh and 3D mapping, LED and DMX fixtures |
| Resolume Arena | macOS, Windows | Paid licence; mapping is in the Arena tier only | Live VJ performance, clip launching, soft-edge blending |
| Millumin | macOS only | Paid licence — check current options | Cued theatre, dance and museum playback |
| VPT | macOS, Windows | Free | Zero-budget projects, experiments, learning |
More in this series
- Projection mapping software: the pillar guide — the four categories and how to choose between them.
- Projection mapping software for Windows — the .exe, Microsoft Store and Steam routes compared.
- Free projection mapping software — what you actually get without paying.
- Lazy Lighting alternatives — the closest options on Apple platforms and beyond.
- The best projection mapping apps in 2026 — ranked across iOS and Android.
Free vs Pro on macOS
The free version on macOS is not a demo with the good parts removed. You get the full mapping, media, effects, tracking, visualizer and Timeline toolset, which is enough to build and run a complete map and judge whether the app suits your work. What free does is watermark the projected image and any exported video, show an entry gate before you enter mapping, and withhold saving and loading project files.
That last restriction is the one that decides it for most Mac users: rebuilding a map from scratch is fine for a one-evening experiment and unacceptable for anything you will run again next month. Pro removes the watermark and the entry gate and unlocks Save, Load and Export — including Map Export to PNG, the feature that connects a calibrated map to an After Effects session. On macOS the purchase runs through the App Store, where Pro is sold as Monthly, Quarterly, Yearly and one-time Lifetime plans. The free projection mapping software guide covers what free tiers cost you in practice, and the SurfaBeam user guide documents every panel in the app.
Frequently Asked Questions
Is there a separate Mac version of SurfaBeam to download?
No, and that is the point of confusion worth clearing up. One Apple App Store listing covers iPhone, iPad and Mac, so there is no separate Mac App Store page and no standalone .dmg to hunt for. Open the App Store app on your Mac and search for SurfaBeam, or open the App Store link on the Mac itself and it will open the App Store app at the right listing. The Windows build is the one that has its own separate installers.
How do I set my projector as a second display on a Mac?
Connect the projector, then open System Settings and go to Displays. Click the projector's tile and set it to be used as an extended display rather than mirroring your Mac's screen, so the projector shows only the mapped output while the Mac screen keeps your controls. Use the Arrange view to drag the projector's tile next to the built-in display, and leave the menu bar on the Mac's own screen so the Dock and notification banners never land on the projection.
What is the best projection mapping software for Mac?
It depends on the job rather than a ranking. MadMapper is the reference choice on macOS for detailed mesh work combined with LED and DMX fixture mapping. Resolume Arena is stronger if the projection is part of a live VJ set with clip launching and soft-edge blending. Millumin is macOS-only and built around cued theatre and museum playback. SurfaBeam is the lighter option for a single projector when you want the same map on the Mac and on an iPad you can carry to the surface.
Is an Apple Silicon Mac fast enough for real-time projection mapping?
For one projector, comfortably. Apple Silicon Macs share one pool of memory between the CPU and GPU, so decoded video frames do not have to be copied to separate graphics memory, and the dedicated media engine handles H.264 and HEVC decoding in hardware rather than on the CPU cores. The practical limit on a long unattended show is heat rather than raw speed: a fanless MacBook Air will throttle over several hours where a MacBook Pro, Mac mini or Mac Studio holds steady.
Can I use an iPad to control projection mapping running on my Mac?
Not as a remote control in SurfaBeam. The iPad runs the full app itself rather than driving the Mac, so the mixed workflow is to build and export on the Mac and then run or adjust the map from the iPad on site, moving the project file yourself with AirDrop or iCloud Drive once Pro has unlocked saving and loading. If you specifically want a tablet acting as a remote for a desktop show machine, HeavyM Remote is built for that alongside HeavyM.
Is there free projection mapping software for Mac?
Yes. VPT (Video Projection Tools) is a long-standing free mapper that runs on macOS, and several commercial tools include free tiers or trials. SurfaBeam's free version on macOS gives you the full mapping, media, effects, tracking, visualizer and Timeline toolset, with a watermark on the projected image and on exported video, an entry gate before mapping, and saving or loading project files reserved for Pro.
More questions of this kind are answered in our projection mapping FAQ, and new tutorials are posted regularly on the SurfaBeam blog.
Map your first surface from the Mac this week
Install SurfaBeam from the App Store on macOS — the same listing puts it on your iPad and iPhone too — set the projector as an extended display, and warp your first map. The free version includes the full mapping, media, effects, tracking, visualizer and Timeline toolset so you can judge it properly before paying anything.